How Do You Connect and Launch CarPlay on Your iPhone?
19 comments
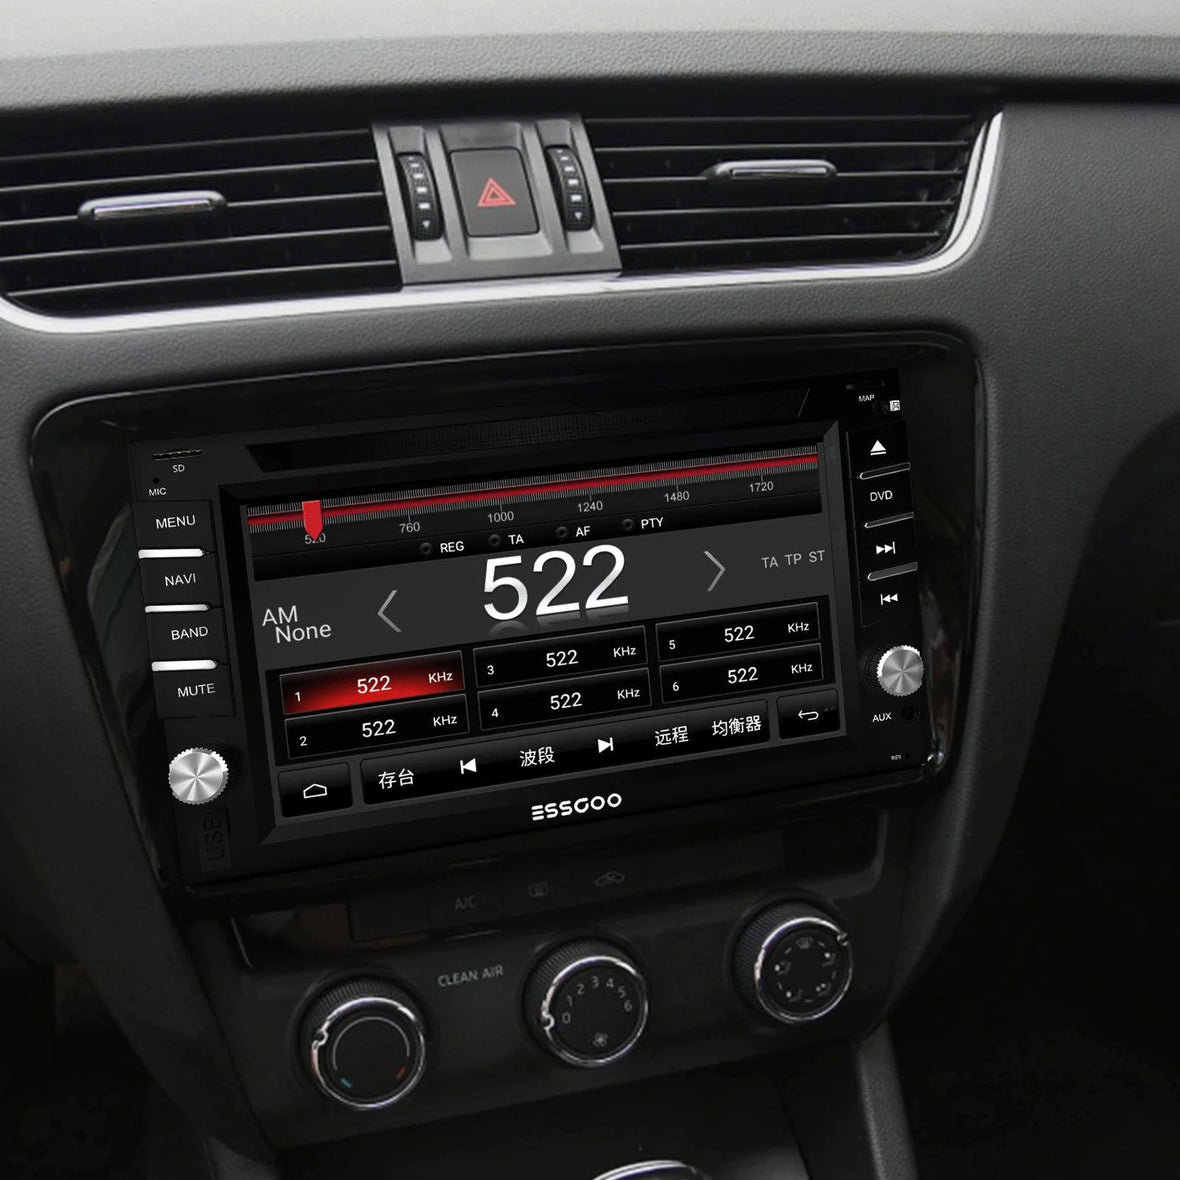
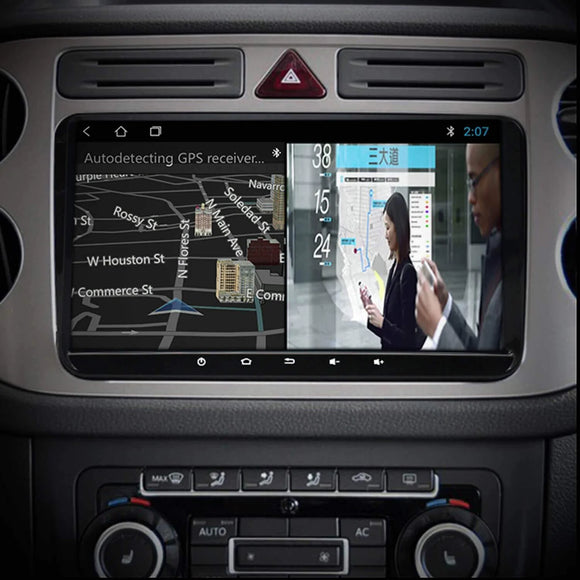
Car stereos are unquestionably the ideal companion for our everyday journey. Most of them now include Bluetooth connectivity for navigation via Android Auto or Apple CarPlay, as well as streaming movies on the touch screen.Every day, technology advances, making us more comfortable while driving our automobiles. To that aim, these "connected" vehicle radios allow you to keep focused on the road while utilizing the features of your smartphone.
There are two alternatives
On the market today, there are two frequently used solutions: Both Android Auto and Apple CarPlay provide a nearly identical user experience, allowing you to connect your smartphone through USB or Bluetooth to view all of your phone's content: GPS capabilities, the ability to receive and send calls and messages, and the ability to listen to streaming music via Spotify, Apple Music, or any other good-sounding music provider. Music or other items with high sound quality, among other things. All of this is controlled by voice commands, which provide the driver some control while driving.`These automobile radios are mostly used to enhance driving performance.They supply us with a variety of real-time information (weather, road conditions, other routes, etc.) without interfering with our ability to concentrate on the road. This is certainly a much better hands-free kit.
Carplay is changing
The iPhone's security, the well-known intuitive operating idea, and the tried-and-true voice control "Hey Siri" - all of this makes Carplay feasible. Carplay provides tremendous additional value and increased safety because fundamental features like as phone calls and navigation can only be managed by speech using Siri. The driver's hands are still on the steering wheel, and his gaze is mostly forward.Apple is deflecting past criticism by enabling an expanding number of third-party CarPlay apps. Alternative navigation tools such as Google Maps, Waze, TomTom, and Whatsapp have long been used as messengers. This implies that many drivers may avoid purchasing a pricey factory infotainment system.
How to Begin Carplay
To utilize Carplay, you must first register your iPhone in each vehicle's infotainment system, then pick Carplay. Using Carplay after that couldn't be simpler.Connect the cord: Using a Lightning cable, connect your iPhone to the USB port on the infotainment system. The infotainment system detects your iPhone and instantly starts Carplay.Wireless with WLAN and Bluetooth only: In vehicles with wireless Carplay, such as BMW, the iPhone is always recognized when it enters the car and WLAN and Bluetooth are activated on the iPhone. After a few seconds, carplay becomes available.
Functionality
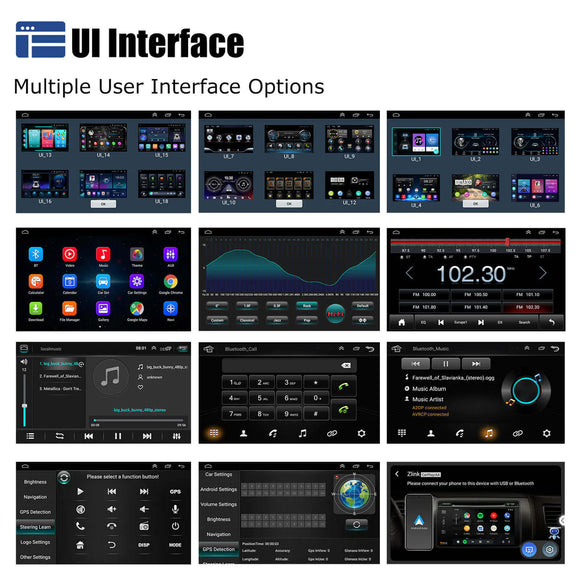
Carplay "mirrors" the iPhone's user interface onto the huge screen in the automobile. The Carplay interface has been optimized for usage on the vehicle's display, and Siri may also be used for voice control. Apps that are not Carplay compatible do not even display on the car screen.The iPhone delivers complete processing power and functionality (voice control, navigation, music streaming, and so on). Carplay's Internet traffic is routed through its SIM card!Only phone calls need Bluetooth connectivity. Data connections, on the other hand, are made by Lightning cord or wireless Carplay over WLAN.If you use wireless Carplay, you may place your iPhone in your jacket pocket and continue using Carplay, but for wireless charging, you should put your iPhone on your car's charging cradle.


Commenti (19)
http://freestyler.ws/user/507714/mietwagenpodgoricacom
https://www.diyelectriccar.com/members/arendaavtotbilisicom.302096/
Инструкция по установке VPN
В современном мире, где интернет занимает существенное место в нашей жизни, вопросы безопасности и конфиденциальности в сети становятся особенно актуальными. VPN (виртуальная частная сеть) предоставляет эффективные средства для защиты вашей интернет-активности и сохранения конфиденциальности данных. В данной инструкции рассмотрим процесс создания собственного VPN. Для этого я выбрал услуги хостинговой компании PQ.Hosting.
Почему PQ.Hosting?
Первое, что мне понравилось на сайте компании, именно в разделе VPN, это возможность поддержки разных устройств с одновременным подключением до 10 активных устройств на одну подписку. Пользователям, у которых есть желание подключить ВПН не только на компьютере, но еще и смартфоне, планшете, телевизоре (а таких сейчас большинство) это очень хорошее решение.
Не в последнюю очередь обращаем внимание на технологию шифрования. Сегодня это очень важно! Ну и, конечно же, не менее привлекателен безлимитный трафик. Серфинг без ограничений по трафику и скорости, обеспечивающий полную свободу и комфорт в интернете лично для меня в приоритете.
Кому нужен надежный ВПН?
Дальше приведу категории пользователей, которым обязательно необходим надежный ВПН:
Геймеры. Игроки могут использовать VPN для снижения задержек (пинга) в играх или для доступа к играм и контенту, недоступным в их регионе;
Туристы. Люди, находящиеся за границей, могут использовать VPN для доступа к своим обычным интернет-ресурсам, таким как банковские аккаунты или любимые стриминговые сервисы.
Компаниям. Сотрудники компаний могут использовать VPN для безопасного доступа к внутренним ресурсам и системам компании из удаленных мест;
Обычным интернет-пользователям. ВПН будет полезен всем тем, кто ценит свою конфиденциальность и хочет защитить свои данные.
А теперь переходим собственно к инструкции.
Разворачиваем собственный VPN
Дальше расскажу, какие преимущества несёт создание собственного VPN:
Защита трафика. Ни администраторы Wi-Fi-сети, ни злоумышленники не смогут получить доступ к вашим данным.
Доступ к заблокированным ресурсам. Поскольку сервер VPN расположен за пределами страны, вы сможете обходить блокировки на сайты и сервисы.
Защита от слежки со стороны интернет-провайдеров. Использование VPN поможет вам обеспечить дополнительную безопасность
Для простых задач, таких как серфинг в интернете или использование социальных сетей, VPN очень даже пригоден. Осталось разобраться, как настроить собственный ВПН.
Инструкция по настройке VPN на примере PQ.Hosting
Чтобы развернуть VPN, необходимо:
1. Арендовать VPS-сервер. Выберите одну из локаций на сайте https://pq.hosting/buy-tunnel
2. Дальше для настройки VPN-соединения используем Amnezia. Скачиваем приложение AmneziaVPN с официального сайта https://amnezia.org/ru/.
3. На почту, указанную при заказе сервера, придет письмо от хостинг-провайдера В письме должны быть указаны IP, User name или User ID, и Password, они понадобятся для установки VPN на сервер.
4. Запустите приложение AmneziaVPN
5. На первом экране выберете “У меня есть данные для подключения”, далее “Настроить свой сервер”, и внесите данные из письма.
6. Нажмите “Продолжить” и следуйте подсказкам приложения.
В заключении скажу, VPN может быть полезен как для индивидуальных пользователей, так и для организаций, стремящихся обеспечить безопасность и конфиденциальность своих данных. Создание собственного VPN на базе Amnezia дает полный контроль над вашей сетью и обеспечивает защиту ваших данных. Следуя пошаговой инструкции, вы можете создать свой собственный VPN и наслаждаться безопасным и приватным интернет-соединением.
https://pq.hosting/abuse
https://geo.hosting/
https://divi.help/members/rentferraridubaicom.30416/
https://hindithoughts.arvindkatoch.com/2024/11/online-sports-betting-in-india.html
https://virtual-local-numbers.com/countries/21-mexico.html
https://www.diyelectriccar.com/members/roscarpodgoricacom.300834/
There can be you and are right.