How to Jump Start a Car?
2 comments
This tutorial will walk you through the steps of how to jump start an automobile. Jump starting an automobile is a critical activity that all car owners should be able to perform. It is important to understand how to restart a car in case your car battery fails at any time. This happens to practically every automobile owner at some time in their lives. Depending on how many attempts it takes to start the automobile, this procedure might take anywhere between 20 and 40 minutes. With the right coaching, anyone can do this activity. After completing the process, your battery will be charged and your vehicle will be ready to drive.
Step 1:equipment
Wear equipment gloves (preferably rubber) to protect yourself from electrical shock if you unintentionally contact live cables.
Step 2: Confirming the Problem
Confirm that the problem with the dead automobile is a battery problem and not something else. This may be accomplished by turning on the lights and determining whether or not they are dead.A low or dead battery is indicated by dim lights. In addition, if plugged-in electrical accessories do not function, this may indicate a dead battery.
TIP: Read the owner's handbook before attempting to jump start an automobile. Some vehicles are not designed to be jump-started and may just require a battery replacement.
Step 3: Set Cars in Position
After confirming that the battery is dead, park the dead and live car hood to hood with about a 2-3 foot gap in between them.
Next, make sure both cars are turned off and open up hoods to both of the vehicles.
TIP: Can also park side by side if area only allows for this type of configuration.
Step 4: Check Batteries
After opening both hoods, identify and inspect both battery terminals for corrosion. If the terminals are corroded or dirty, it may be difficult to starting the automobile. If the terminals are rusty or rusted, use the cloth to clean them.
After you've checked the terminals, you'll be ready to connect the jumper wires.
WARNING: Wear gloves in the automobile to protect yourself from electrical shock and other potential risks. While cleaning terminals, be sure the car is turned off.
TIP: In the next stages, make sure you connect wires in the right sequence.
Step 5: Hook Up Jumper Cables
You are now ready to connect the cords. When connecting wires as stated in the next stages, make sure you do it in the right order.
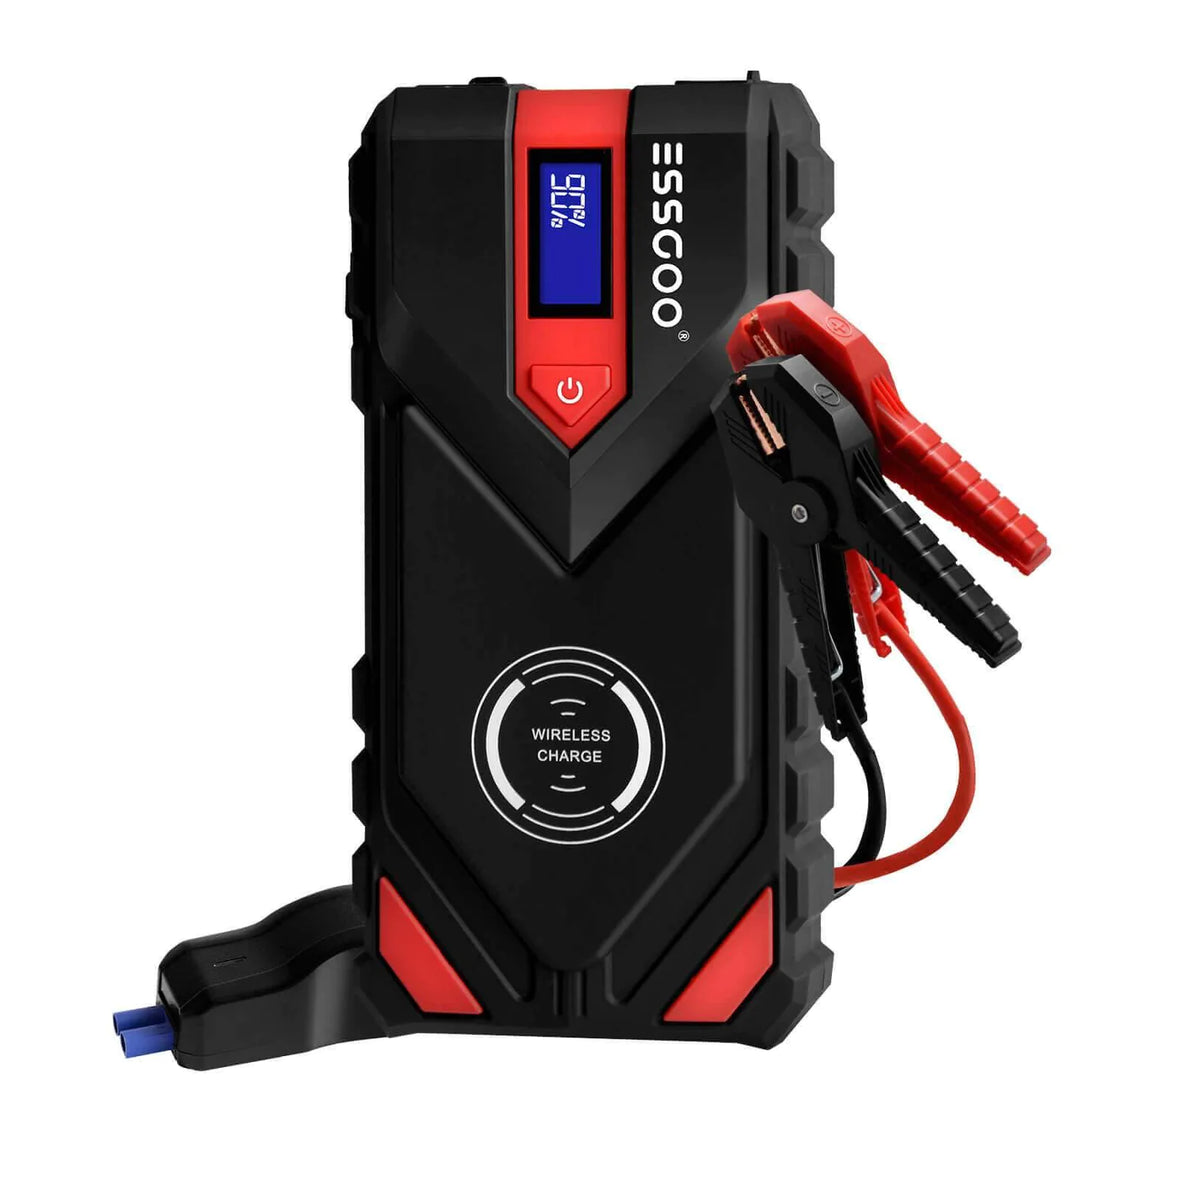
To begin, connect the positive jumper cable to the positive terminal of the dead battery.
Connect the positive jumper cable to the positive terminal on the live battery.
TIP: The red jumper cable is the positive jumper cable. On a battery, the positive terminal is generally denoted by something red. If there is no red indicator, there is normally a plus symbol next to it.
Step 6: Hook Up Jumper Cables
The black jumper cable is the negative jumper cable. It is frequently more difficult to locate on a car battery since it is generally smaller than the positive terminal. It may be identified by a - symbol on the automobile battery.
Finally, connect the negative jumper cable to a grounded piece of metal on the dead automobile.
Do not connect to a painted or filthy piece of metal. If you attach wires to these, the connections may not be good enough to obtain a jump. There is generally a decent piece of metal towards the front of the hood to connect this cable to.
WARNING:
Never connect a negative jumper cable to the negative terminal of a dead battery. This is due of safety concerns. There is a potential that a spark will be formed while attaching the last clamp. You want this spark to happen as far away from the battery as possible to avoid the battery exploding.
Step 7: Start Up Car With Live Battery
Start Up Car With Live Battery
After cables are properly attached, start up the working car.
Let working car sit and run for about 5 mins.
TIP: It is okay to rev the engine in the live car around every 30 seconds. This will help produce a few extra volts, but is not essential in getting the other car to start. You will still have enough volts from the live battery to start the dead battery without revving the engine. If you do decide to rev engine make sure to not race the engine by keeping your foot on the pedal the whole time.
Step 8: Start Up Car With Dead Battery
After 5 minutes has passed try to start up dead car.
TIP: If dead car does not start up it is most likely do to a bad connection. If this occurs shut off both vehicles and try to reconnect cables in order listed above. If you are removing all the cables make sure to do so in reverse order of how you applied them.
Step 9: Remove Cables
Once dead car turns on it is okay to remove jumper cables. Remove jumper cables in reverse order of how they were applied.
First, remove cable from ground metal on car with dead battery.
Then, remove cable from negative terminal on car with live battery.
Third, remove cable from positive terminal on car with live battery.
Lastly, remove cable from positive terminal on car with dead battery.
WARNING: Do not touch metal claws of cables together while a cable is still connected to a battery. This could result in electrical shock. (This is why rubber gloves are preferred.)
Step 10: Let Dead Battery Recharge
Drive the car around for 20-30 minutes once the wires have been removed. This allows the alternator to charge the battery. If a car with a dead battery is switched off immediately after a successful jump, it will most likely not start again and you will have to repeat the operation.
Your vehicle has now been successfully jump-started. The most difficult aspect of the procedure is ensuring that the connections are solid. If it does not start the first time, re-adjust your connections and try again. Also, for a proper connection, make sure the terminals are clean. Overall, this is a simple activity that you should never have to pay someone else to complete.


Commenti (2)
frzXBhOY
onXcEAdmZpzPIqj